I am using MAME 1.39 with the MALA frontend.
I have created my own Donkey Kong Junior MALA Layout which you can download here: (Coming Soon!)
The Layout uses Marquee Images and Video Previews which show an 'attract mode' of each game as you scroll through the list. It's a really nice touch!
I use ROMLister to generate a list of games that I have that are 4-Way with 1 button. This is because I am keeping my control panel standard and there is only 1 'action' button. Right now I have around 30 games which is a nice number. I do plan on adding/removing as time goes by.
This is all running on a P4 2.8ghz, 1.5gb Ram, 256mb Radeon Video Card and the TinyXP Beast2 Operating System.
Hey there, welcome to my Donkey Kong Junior Restoration blog! I hope you enjoy following along as I restore my Donkey Kong Junior cab to its original new condition. I will also be performing a 'Stealth' MAME conversion. Everything will be original parts except the PCB will be swapped for a PC!
Sunday, March 20, 2011
MAME Parts
Here are the parts I will be using that are specific to the MAME computer part of the cabinet.
1. I-PAC 2
The I-PAC is a keyboard encoder card that connects to the arcade joystick and buttons and tells the MAME Emulator which controls have been pushed.
You can order one here: www.ultimarc.com
2. VGA-to-CGA Converter
This card connects between the Arcade Monitor and the Computer Video Card
I ordered mine from ebay here: http://cgi.ebay.com/ws/eBayISAPI.dll?ViewItem&item=260705997170
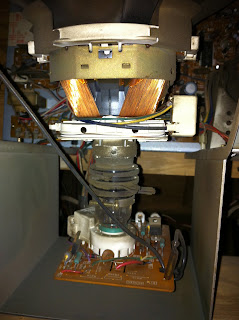
Screen Issues!
The screen initially had some issues. It was squished horizontally and washed out with some banding. I was a little worried it would be an expensive repair but after doing some research online all signs pointed to a ‘Cap Kit’ being the likely fix for those symptoms.
A Cap Kit is a ‘Capacitor Kit’, a selection of electrical capacitors that replace burned out capacitors on the Monitor Circuit Board. I bought mine from Bob Roberts, an Arcade Parts Guru.
Here is his site: http://www.therealbobroberts.net/
Here is his site: http://www.therealbobroberts.net/
You need to be able to solder them on to the board or have someone experienced help you. Also another pair of hands to take out the Monitor will be great as they weigh about 50 lbs!
Here is what the screen looked like before the capacitors were replaced.

Pretty bad!
But, after a Cap Kit replacement, which probably only took a couple of hours with the help of my Brother-in-law .....
Awesome!! It really is amazing what replacing a few capacitors can do. And the kit only costs around $15. I got the deluxe kit which also includes Audio Board Caps and I highly recommend you replace them all at once, it’s not fun taking that monitor out!
That also reminds me, it can be VERY DANGEROUS working on Monitors. They can have a very strong electrical charge stored inside even after you have unplugged them.You need to take the appropriate care when working on them.
Read up about how to safely Discharge a monitor! Don’t let that put you off though. So long as you follow the steps you will be just fine!
So there you have it, my screen is now as good as new!
First pictures after getting home
Here are some pictures of when I got the cabinet home. As you can see it’s in pretty good shape.


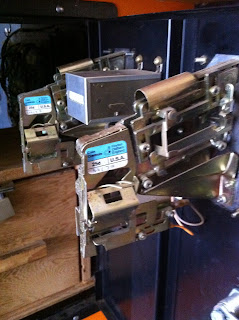


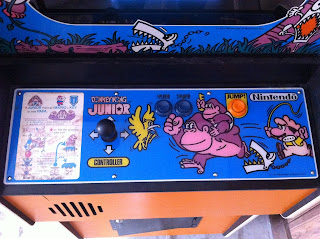


Not too bad for a 30 year old machine! It has a few dings and scrapes (battle scars), the Joystick needs replacing with a genuine Nintendo 4-Way Donkey Kong stick, and the screen has some issues... which is up next :)
Donkey Kong Jr Restoration Project!
Hey there, welcome to my Donkey Kong Junior Restoration blog!
I recently purchased a complete DK Jr cab in good condition with the usual dings and scrapes found on a wooden cabinet from the early 80’s! I knew I could make it look shiny and new again, it will be a fun project!
Now when I started this project I intended on restoring it as a dedicated DK Jr cab with the working PCB that came with it. I have since done a 180 and decided to do an elegant MAME conversion. By that I mean it will look exactly like an original DK Jr cab from the outside, in fact the only thing not original will be swapping the PCB for a PC!
I hope you will enjoy following my progress and maybe learn a good technique here and there. It will be a learning experience for me too!
Subscribe to:
Posts (Atom)